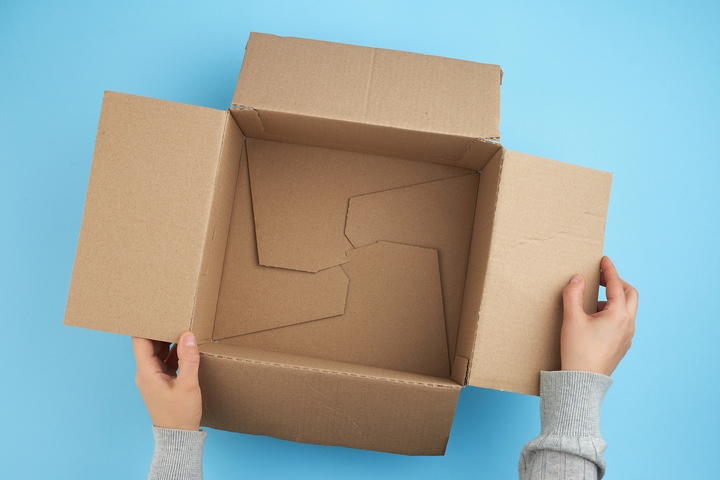
In the world of business, things move at an almost limitless rate. There are so many dynamics that must be paid attention to and figured out to achieve long-term goals. Moreover, if you run your own business, you may be worried about delivering products to your customers.
If your products are unique, the right shipping box will be needed to ensure a smooth delivery. Why not use this as an opportunity to design your custom box? It is a fun endeavour and a great way to showcase personality in your business.
Here are seven steps on how to make a custom box for shipping:
Step #1: Brainstorm the custom box

Before you even begin sketching out your designs, it is crucial that you first put some ideas onto a piece of paper. Brainstorming the creative process will ensure that everything moves ahead without much issue. If you think about what should be thought of first, you can do no wrong by thinking about its appearance.
Of course, the appearance is largely based on what you desire it to be. It can be as generic as you’d prefer, or it can contain your product in a snug manner. Be sure to go over these ideas with a proper designer so that they can provide you with the right feedback. Then, you can begin the more important parts of the procedure.
Step #2: Do a rough layout of the box

One of the first initial steps of this process involves creating the dimensions of the custom box. Make sure that you know the box’s length, width, and height, and then go from there. Your layout should also be drawn upon a scrap piece of paper to see how it would look before launching.
In addition, the layout should also include dotted lines in the sketch, which indicates how the box folds. If you are not going for the traditional box shape, it is crucial to design the layout with set dimensions. These facets are crucial once you begin to print the boxes in question.
Step #3: Create a box prototype

A prototype custom box for shipping will be one of the best ways to test out all parts of your design. To begin with, grab a scrap piece of paper, one that is large enough to match the layout you have drawn. Then, cut the box out in a way that mimics the design you have in front of you.
Make sure that the cardboard you are using is sturdy enough to both hold a product, as well as fold. Even though it is a test product, the last thing you want is for your box to fail on you when in use. Don’t forget to mark out the folds, as these will indicate when you decide to close the overall box.
Step #4: Consider product placement in the box

At this point, you will have a box that is primed and ready for further testing. Place a product inside the box to see how it stands when inside. If it is all systems go, fold it up and keep it on the side. Since you will likely be handling different products, you should put different ones inside a respective box.
You will need to consider other factors here, such as product weight. Only then will you determine if the shipping boxes you are making are good enough to be sent out. You are much closer to mass production after trying the boxes out with different products!
Step #5: Designing the custom box

One of the best parts of creating a customized shipping box is to design it as you see fit. Head back to your brainstorming session from before, and take a look at what you documented. Custom shipping boxes will do well with striking imagery and fonts. You may also use add-ons like custom tape to add a special touch of personalization to the box.
For example, using vibrant colours can fit your brand identity well, especially when paired with a similar font. It is important to experiment with different designs, colours, and graphics until you find the one you prefer.
Step #6: Double-check the box design

Since these boxes can remain vulnerable to internal or external elements, always be sure to do a quick double-check. This will ensure that you are good to go regarding the box’s structural integrity.
Step #7: Get feedback on the box design

Once you have sent out your custom shipping boxes to your customers, make sure to have some feedback form. It allows your customers to comment on what they liked best and can be done better. Sometimes, all it will take is a few comments to truly make your custom boxes stand out from the rest!